A batteries-included Docker development environment for building SignalWire applications.
- Pre-configured SignalWire SDKs - Python SDK, signalwire-agents, SWML, SWAIG ready to use
- Automatic tunneling - ngrok or Cloudflare Tunnel for public webhook URLs
- Persistent storage - Your code, venvs, configs, and credentials survive container rebuilds
- Interactive setup - TUI menus for configuring credentials and tools
- Built-in services - Redis, nginx, PostgreSQL, FreeSWITCH available on demand
- AI coding assistants - Claude Code and Gemini CLI pre-installed with MCP support
- Developer tools - Git, tmux, editors (vim/emacs/nano/micro/ne), debugging utilities
- Security - Global gitignore prevents accidental credential commits
git clone https://github.com/signalwire/WireStarter.git
cd WireStarter
cp env.example .env
Edit .env with your credentials:
SIGNALWIRE_SPACE_NAME=yourspace
SIGNALWIRE_PROJECT_ID=your-project-id
SIGNALWIRE_TOKEN=your-api-token
NGROK_TOKEN=your-ngrok-token
WORKDIR=/path/to/your/workspacemake up # Start in background
make enter # Enter the containerOn first entry, WireStarter validates your SignalWire credentials and drops you into the SignalWire Shell (swsh). Type exit to access the full bash environment.
Run setup for the interactive configuration menu.
| Command | Description |
|---|---|
make up |
Build and start container (detached) |
make down |
Stop container |
make enter |
Enter running container |
make build |
Rebuild image (no cache) |
make debug |
Run container in foreground |
make clean |
Stop and prune Docker system |
make push |
Build and push multi-arch image |
Type help for a complete command reference.
setup # Interactive environment setup menuThe setup menu provides:
| Option | Description |
|---|---|
| Setup SignalWire & NGROK Credentials | Configure API keys and ngrok token (required) |
| Start ngrok Tunnel | Start/restart the ngrok tunnel |
| Setup Cloudflare Tunnel | Alternative to ngrok using Cloudflare |
| Setup AI API Keys | Configure Claude/Gemini API keys or OAuth |
| Add MCP Servers | Add Model Context Protocol servers to Claude/Gemini |
| Remove MCP Server | Remove configured MCP servers |
| Setup Git Identity | Configure git user, email, and GitHub token |
| Setup SSH Key | Generate ED25519 SSH key for git |
| Setup Go | Install latest Go to /workdir/.go |
| Setup NVM + Node.js | Install NVM and Node.js LTS |
| Setup PostgreSQL | Initialize PostgreSQL in /workdir/postgres |
| Setup FreeSWITCH | Install FreeSWITCH (requires PAT) |
| Setup Python Dev Tools | Install black, pytest, build, twine |
| Setup Audio Tools | Install pydub for audio processing |
| Setup All Dev Tools | Install Go, NVM, PostgreSQL, Python tools |
| Enable/Disable swsh | Toggle SignalWire Shell on login |
| Show Status | Display current environment status |
| Clean Environment | Remove all dev tools and configs |
Venvs are stored in /workdir/.venvs/ and persist across container rebuilds.
venv init             # Create venv for current directory
venv delete           # Delete venv for current directory
venv list             # List all venvs
venv nuke             # Delete currently active venv
Venvs auto-activate when you cd into a directory that has one.
newproject myapp      # Create Flask project with venv
newagent mybot        # Create full SignalWire agent project
The newagent command creates a complete project structure:
agents/- Agent modules with AgentBase patternsskills/- Reusable skillstests/- Pytest test scaffoldingweb/- Static files with WebRTC calling interface.env- Pre-configured with your SignalWire credentials
up                    # Run app.py in loop (auto-restart on crash)
up server.py          # Run specific script
watch                 # Auto-restart on file changes
serve 5000 # Run Flask dev serverswsh # SignalWire Shell - interactive CLI
sw_test # Test API credentials
sw_numbers # List phone numbers
swpy # Python REPL with SignalWire client loadedurls # Show ngrok tunnel URLs
tunnel # Print ngrok URL
testapp # Test local and public endpoints
webhook # Start webhook catcher (dumps requests)
logs # Tail nginx access log
reqs # Formatted request logports # Show what's running on 5000, 5001, 9080
killport 5000 # Kill process on port
reload # Reload nginx
tmux attach -t ngrok # Attach to ngrok session
tmux attach -t cloudflared # Attach to Cloudflare tunnel sessionredis # Redis CLI
rkeys # List all keys
rget mykey # Get value
rclear # Flush all datapsql # Connect to PostgreSQL (auto-configured)gs # git status
gd # git diff
gl # git log --oneline -20
gp # git pullwork # cd /workdir
public # cd /workdir/public
.. # cd ..
... # cd ../..On startup, WireStarter runs:
- ngrok (if configured) - Tunnels port 9080 to a public URL (runs in tmux)
- Cloudflare Tunnel (if configured) - Alternative tunnel to ngrok (runs in tmux)
- nginx - Reverse proxy on port 9080
/→ localhost:5000 (your app)/webhook→ localhost:5002 (webhook catcher)/public→ /workdir/public (static files)
- Redis - Available on default port
- PostgreSQL (if configured) - Auto-starts if data directory exists
Everything in /workdir persists across container rebuilds. The following files and directories are automatically symlinked from /workdir to their expected locations:
| Path | Purpose |
|---|---|
/workdir/.env |
Environment variables (SignalWire, ngrok, etc.) |
/workdir/.bashrc |
Custom bash configuration |
/workdir/.venvs/ |
Python virtual environments |
/workdir/.ssh/ |
SSH keys |
/workdir/.gitconfig |
Git configuration |
/workdir/.git-credentials |
Git credential storage |
/workdir/.gitignore_global |
Global gitignore (auto-created) |
/workdir/.go/ |
Go installation |
/workdir/.nvm/ |
NVM + Node.js |
/workdir/.npm/ |
NPM cache |
/workdir/.npmrc |
NPM configuration |
/workdir/.claude/ |
Claude Code auth & session data |
/workdir/.claude.json |
Claude Code MCP configuration |
/workdir/.gemini/ |
Gemini CLI auth & config |
/workdir/.cloudflared/ |
Cloudflare Tunnel config & token |
/workdir/.config/ |
XDG config (GitHub Copilot, etc.) |
/workdir/.emacs |
Emacs configuration |
/workdir/.vimrc |
Vim configuration |
/workdir/.nanorc |
Nano configuration |
/workdir/.pypirc |
PyPI configuration |
/workdir/.swsh_history |
SignalWire Shell history |
/workdir/postgres/ |
PostgreSQL data directory |
/workdir/public/ |
Static files (served at tunnel URL/public) |
Global Gitignore: WireStarter automatically creates /workdir/.gitignore_global to prevent accidentally committing secrets. The following patterns are globally ignored in all git repositories:
.env,.env.*,*.env,.envrccredentials.json,*_credentials.json*.pem,*.keyid_rsa,id_ed25519.npmrc.claude.json,.claude.json.backup
Token Storage: Sensitive tokens (like Cloudflare Tunnel) are stored in dedicated files with restricted permissions (chmod 600) rather than in .env.
System: git, curl, wget, jq, tmux, screen, ffmpeg, sox, sqlite3, ncdu, cloudflared
Editors: vim, emacs, nano, micro, ne
Python: signalwire, signalwire-agents, signalwire-swml, signalwire-swaig, flask, requests, ipython, httpie, black
AI Tools: Claude Code, Gemini CLI (with MCP server support)
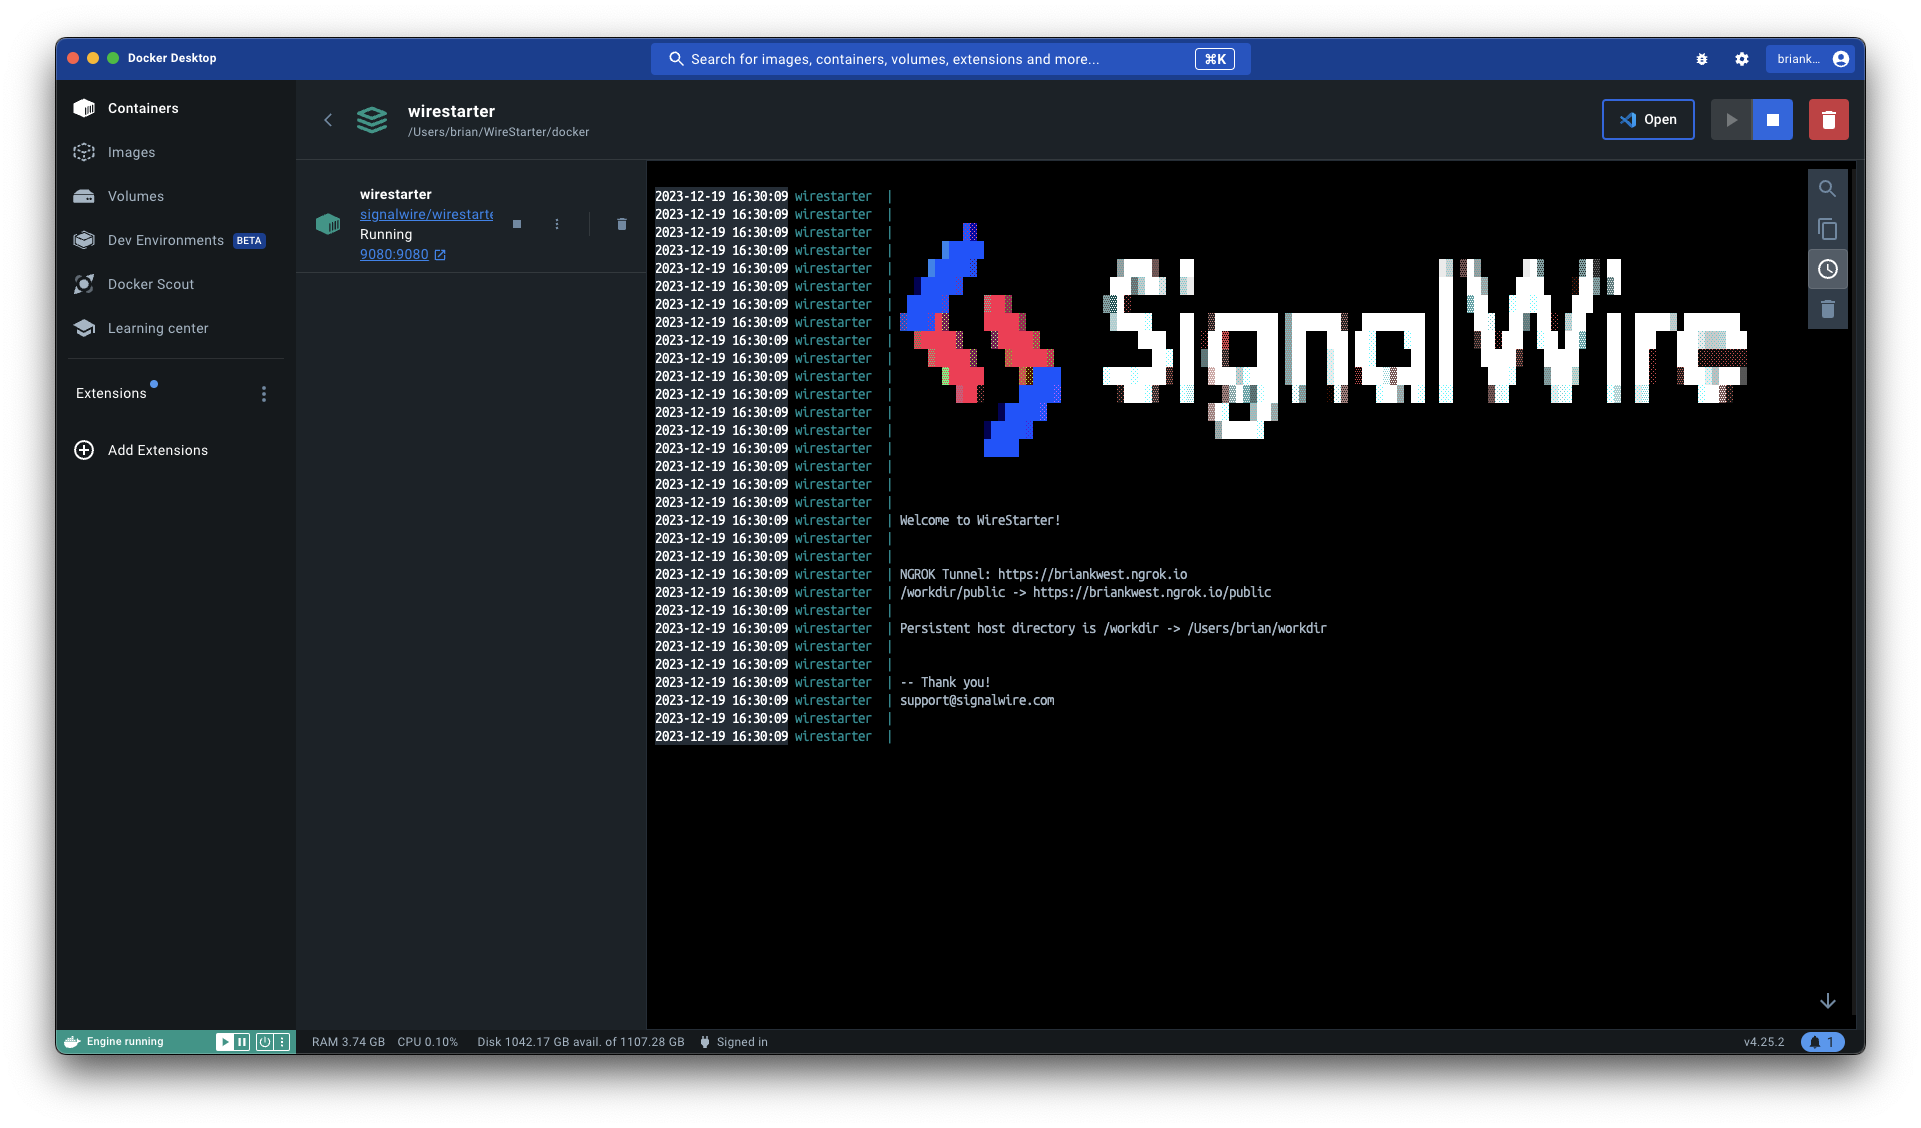
Set NGROK_TOKEN in your .env file. The tunnel starts automatically on container launch.
# Optional: Use a custom domain
NGROK_ARGS="--url yourdomain.ngrok.io"
Access the ngrok session: tmux attach -t ngrok
- Create a tunnel in Cloudflare Zero Trust Dashboard
- Run
setupand select "Setup Cloudflare Tunnel" - Enter your tunnel token
The tunnel runs in a tmux session and auto-starts on container launch.
Access the cloudflared session: tmux attach -t cloudflared
| Variable | Required | Description |
|---|---|---|
SIGNALWIRE_SPACE_NAME |
Yes | Your SignalWire space (without .signalwire.com) |
SIGNALWIRE_PROJECT_ID |
Yes | SignalWire project ID |
SIGNALWIRE_TOKEN |
Yes | SignalWire API token |
NGROK_TOKEN |
Yes* | ngrok auth token (*or use Cloudflare Tunnel) |
NGROK_ARGS |
No | Additional ngrok arguments (e.g., --url yourdomain.ngrok.io) |
FREESWITCH_PAT |
No | FreeSWITCH package access token |
WORKDIR |
Yes | Host directory to mount as /workdir |
VISUAL |
No | Preferred editor (vim/emacs/nano/micro/ne) |
ANTHROPIC_API_KEY |
No | Claude API key (alternative to OAuth) |
GEMINI_API_KEY |
No | Gemini API key (alternative to OAuth) |
GITHUB_TOKEN |
No | GitHub personal access token |
SLACK_BOT_TOKEN |
No | Slack bot token (for MCP server) |
BRAVE_API_KEY |
No | Brave Search API key (for MCP server) |
Claude Code is pre-installed. Authenticate via:
- OAuth:
claude(browser-based login) - API Key: Set
ANTHROPIC_API_KEYin setup
MCP servers can be added via the setup menu for enhanced capabilities (filesystem access, GitHub, memory, etc.).
Gemini CLI is pre-installed. Authenticate via:
- OAuth:
gemini(browser-based login) - API Key: Set
GEMINI_API_KEYin setup
# Enter the container
make enter

# Exit swsh to get to bash
exit

# Create a new agent project
newagent mybot
cd /workdir/mybot

# Edit the agent logic
vim agents/main_agent.py

# Run it
up

# Your agent is now available at the ngrok URL
urlsWireStarter includes a webhook catcher for debugging callbacks:
# Start the webhook catcher
webhook

# Your webhook URL is:
# https://your-tunnel-url/webhook
# https://your-tunnel-url/webhook/xml (returns XML/LaML)
All incoming requests are pretty-printed to the console with headers, body, and query parameters.
Container exits immediately
- Check that
.envexists and has valid credentials - Run
make debugto see startup errors
ngrok not working
- Verify
NGROK_TOKENis set in.env - Check ngrok status:
curl http://127.0.0.1:4040/api/tunnels - Attach to session:
tmux attach -t ngrok
Cloudflare Tunnel not working
- Check the tunnel session:
tmux attach -t cloudflared - Verify token file exists:
ls -la /workdir/.cloudflared/token - Re-run setup to reconfigure
SignalWire credentials fail
- Run
sw_testto validate credentials - Ensure space name doesn't include
.signalwire.com
Venv not activating
- Only works in
/workdir/*directories - Run
venv initto create one
PostgreSQL not starting
- Check if data exists:
ls /workdir/postgres/PG_VERSION - Run
setup→ "Setup PostgreSQL" to initialize
- Install Docker Desktop and GitHub Desktop
- Clone repository via GitHub Desktop
- Open in Command Prompt:
Repository>Open in Command Prompt - Run
windows-start.bat
chmod +x Start-WireStarter.sh
./Start-WireStarter.shgit clone https://github.com/signalwire/WireStarter.git
cd WireStarter
cp env.example .env
# Edit .env with your credentials
make up
make enterIssues and pull requests welcome at github.com/signalwire/WireStarter.
MIT License - See LICENSE file for details.