The BioID Web Service (BWS) is a cloud-based online service providing a powerful multimodal biometric technology with liveness detection to application developers. But often developers have some trouble writing a user interface for collecting the data required to perform the biometric tasks, notably face images. Therefore we want to provide some sample code that might be used in Android to interact with the BWS.
Please also take a look at the Developer Documentation.
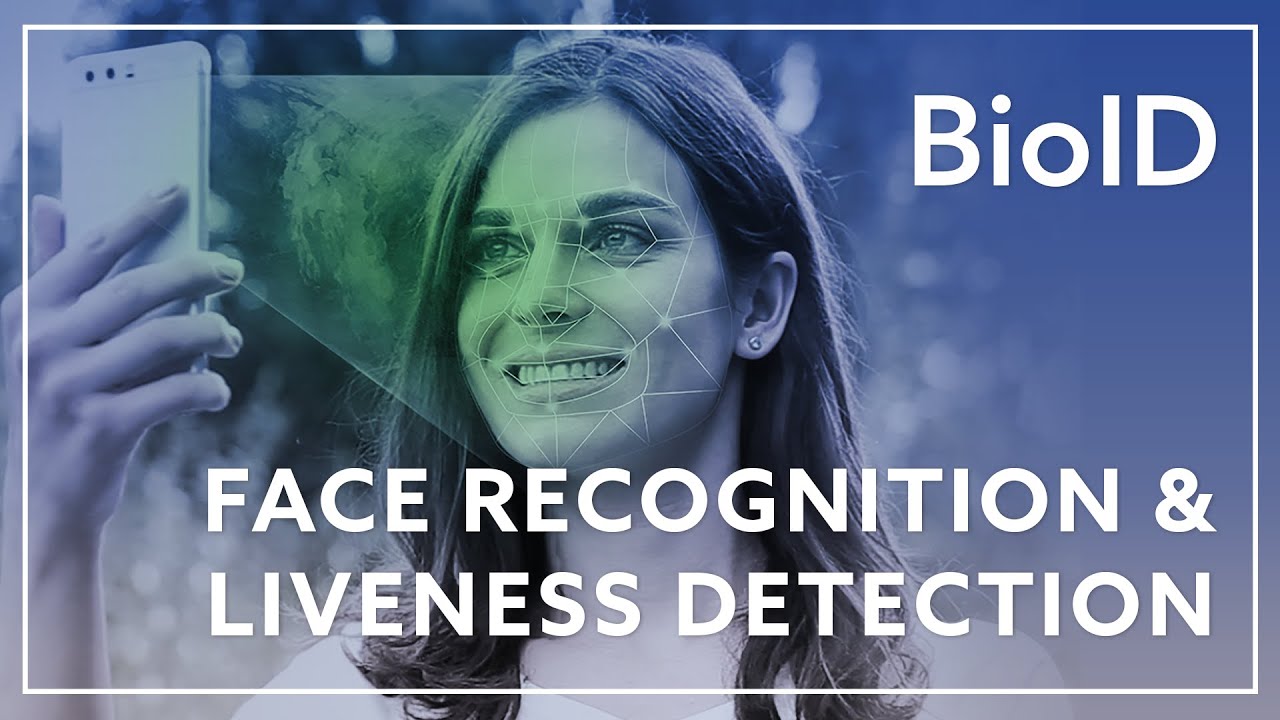
BioID’s liveness detection is a software-based security feature for facial biometrics. Also called presentation attack detection (PAD), it distinguishes live persons from fakes such as photo/video replays or masks.
- You need a BioID Account with a confirmed email address.
- After creating the BioID Account you can request a free trial instance for the BioID Web Service (BWS).
- After the confirmation for access to a trial instance you can login to the BWS Portal.
- The BWS Portal shows you the activity for your installation and allows you to configure your test client.
- After login to the BWS Portal configure your test client. In order to access this client, please do the steps below.
- Click on 'Show client keys' on your clients (the 'key' icon on the right). The dialog 'Classic keys' opens.
- Now create a new classic key (WEB API key) for your client implementation by clicking the '+' symbol.
- You will need the AppId and AppSecret for your client implementation.
⚠️ Please note that we only store a hash of the secret i.e the secret value cannot be reconstructed! So you should copy the value of the secret immediately!
Click on your BWS client on symbol „Update Classic client“ (the ‘pencil’ icon on the right). A dialog opens that contains all information for accessing the BWS, as well as other information needed for the user BCIDs.
For the creation of BCIDs for users in your app the following information is needed:
- Storage e.g.
bws - Partition e.g.
12 - UserID – this is a unique number you assign to the user, e.g.
4711
The BCID with the example values from above is bws.12.4711.
Take a look at Web API endpoint for e.g. https://bws.bioid.com. In this case the BWS instance name is bws.
Now you can add the following properties to your users gradle.properties file.
BioIdBwsInstanceNameBioIdAppIdBioIdAppSecretBioIdBcid
If you need more information about the gradle.properties file read Chapter 12 of the official gradle docs.
If you want to integrate this code into your Android app follow these steps:
-
setup your
app/build.gradle1. make sure that yourminSdkVersionis23(Android 6.0) or higher 2. make sure you enabled Data Binding 3. make sure you enabled Support Vector Drawables 4. add allbuildConfigFieldentries from theandroid/productFlavors/bwssection withinapp/build.gradleto your project (the actual values are provided by your usersgradle.propertiesfile, have a look at the Setup section) 5. add allcompiledependencies fromapp/build.gradleto your project -
setup your
AndroidManifest.xml1. add alluses-featureentries fromapp/src/main/AndroidManifest.xmlto your project 2. add alluses-permissionentries fromapp/src/main/AndroidManifest.xmlto your project 3. add these two activity declarations to your project<activity android:name="com.bioid.authenticator.facialrecognition.verification.VerificationActivity"/> <activity android:name="com.bioid.authenticator.facialrecognition.enrollment.EnrollmentActivity"/> -
copy all Java source files from
app/src/main/javaandapp/src/bws/java/com/bioid/authenticator/baseto your project (do not modify any package names) -
copy or merge all Android resources from
app/src/main/resto your project (of course you do not have to insert the mipmap app icons) -
adjust all imports of
com.bioid.authenticator.BuildConfig,com.bioid.authenticator.Randimport com.bioid.authenticator.databinding.*in the copied Java sources to your package name -
have a look at
app/src/bws/java/com/bioid/authenticator/main/MainActivity.javaon how to start the verification or enrollment process
In case you are wondering why the code is split into the main and bws source set, this is because of the closed source connect flavor. The connect flavor uses BioID Connect as identity management. You can try out this facial recognition app - available via Play Store.